Best Practices When Using Spot Weld Drill Bits
Best Practices When Using Spot Weld Drill Bits
 2025-09-11T16:19:37-08:00
Spot weld drill bits represent one of the most specialized tools in any metalworker’s arsenal. These precision instruments help technicians remove spot welds quickly and efficiently without damaging surrounding materials. Understanding the best practices when using spot weld drill bits ensures optimal performance and significantly extends the life of your equipment.
Understanding Spot Weld Drill Bits
Spot weld drill bits feature unique designs that distinguish them from standard drilling tools. The specialized geometry features a pilot tip that precisely centers the bit on the weld nugget. Most bits incorporate a spring-loaded mechanism that prevents over-drilling and protects the underlying metal sheet.
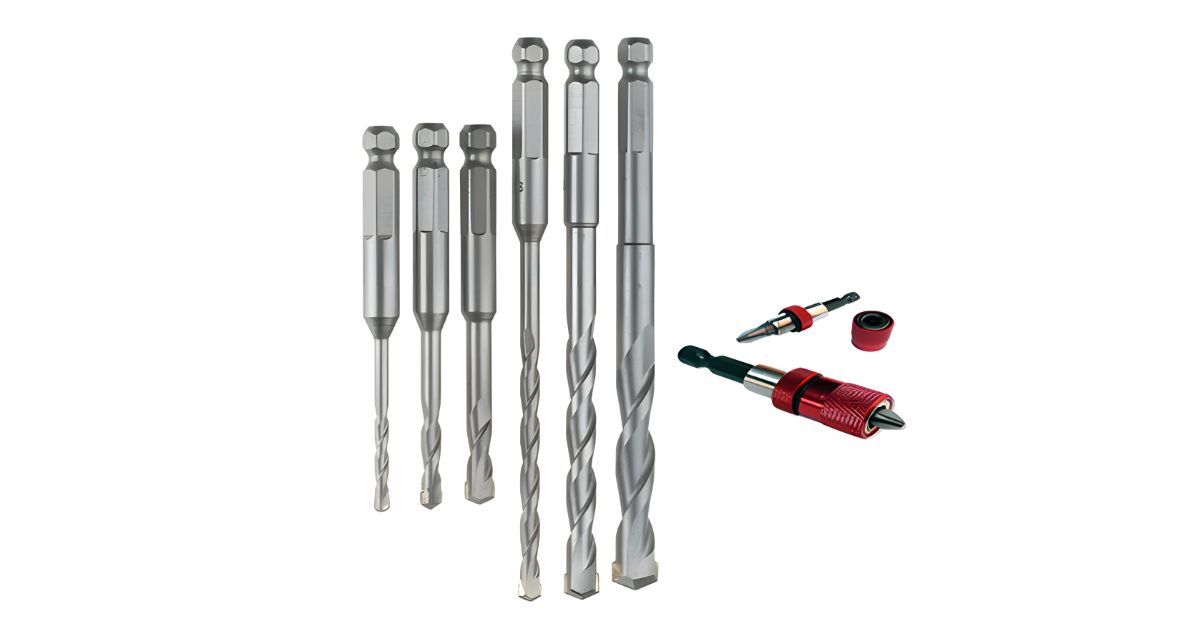
These tools typically measure between 6mm and 12mm in diameter, matching standard spot weld sizes. The cutting edges are engineered to slice through hardened weld metal with minimal heat generation. Quality spot weld bits often feature cobalt or carbide construction for enhanced durability and cutting performance.
Selecting the Right Bit Size
Proper bit selection forms the foundation of successful spot weld removal operations. Measure the spot weld diameter carefully before choosing your drill bit size accordingly. Using oversized bits creates unnecessary holes and weakens the surrounding metal structure.
Most automotive spot welds range from 6mm to 8mm in standard applications. Heavy-duty applications may require larger bits up to 12mm for industrial welding scenarios. Always verify the weld size using calipers or measuring tools before beginning any drilling task.
Safety Preparation and Equipment
Personal protective equipment becomes absolutely critical when operating spot weld drill bits at high speeds. Wear safety glasses or face shields to protect against metal shavings and debris flying outward. Heavy-duty work gloves provide grip control while protecting hands from sharp metal edges and hot surfaces.
Ensure adequate ventilation in your workspace since drilling generates metal particles and potential fumes. Clear the work area of flammable materials and keep fire extinguishing equipment readily accessible. Secure loose clothing and tie back long hair to prevent entanglement in rotating machinery.
Proper Tool Setup and Positioning
Mount your drill securely in a high-quality chuck that provides excellent bit retention under load. Check the chuck tightness regularly since spot weld drilling creates significant lateral forces during operation. Position yourself comfortably with a stable footing and clear sight lines to the work area.
Adjust the drill speed settings according to the material thickness and the bit manufacturer’s specifications. Lower speeds generally produce better results with spot weld bits compared to standard drilling applications. Trade crypto, Forex, CFDs, stocks, and commodities via platform Accutrader Alpha Reviews Maintain perpendicular alignment between the bit and the work surface for optimal cutting performance.
Drilling Technique and Approach
Begin drilling with light pressure to establish proper bit positioning on the weld center. Allow the pilot tip to engage the weld nugget before applying additional downward pressure gradually. Excessive initial pressure can cause the bit to wander or break prematurely under stress.
Maintain steady, consistent pressure throughout the drilling process without forcing the bit through resistant materials. The spring-loaded mechanism will indicate when you’ve reached the proper depth by stopping automatically. Listen for changes in the cutting sound that indicate breakthrough or completion of the task.
Heat Management During Operation
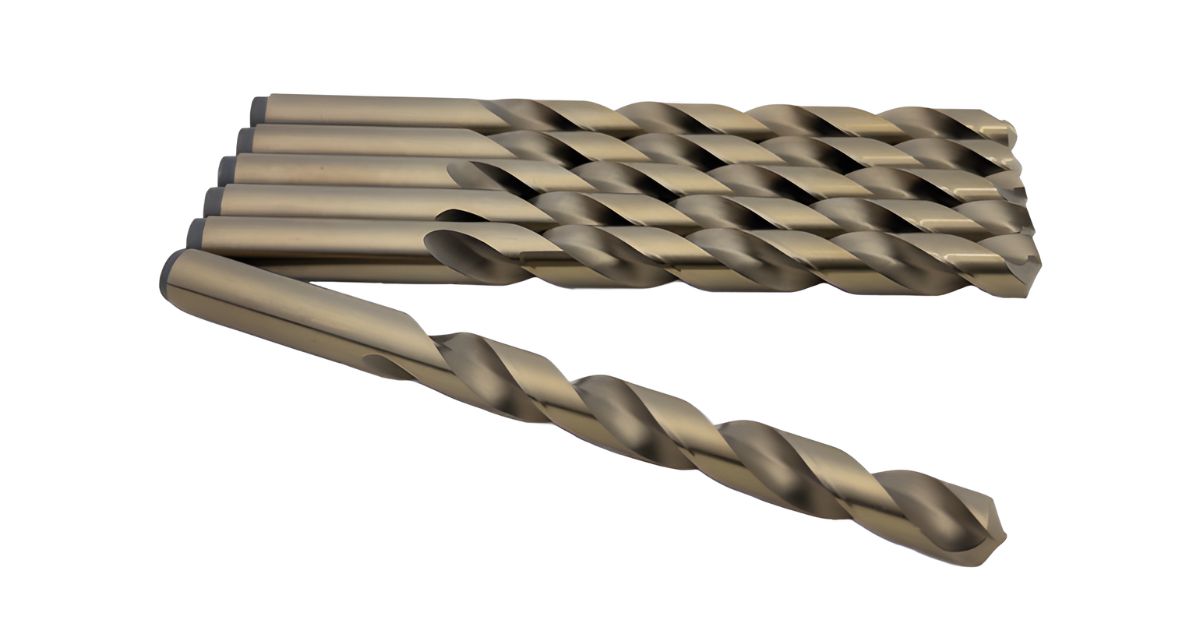
Cobalt drill bits for metal generate less heat than standard bits but still require careful temperature management. Apply cutting fluid or light oil periodically to reduce friction and prevent overheating of both materials. Excessive heat can damage the bit edge geometry and significantly reduce cutting effectiveness.
Allow the bit to cool between multiple spot welds to prevent heat buildup and premature wear. Remove metal chips frequently to maintain proper cooling and to avoid chips welding to the bit. Hot bits can lose their temper and become dull much more quickly than expected.
Recognizing Proper Cutting Progress
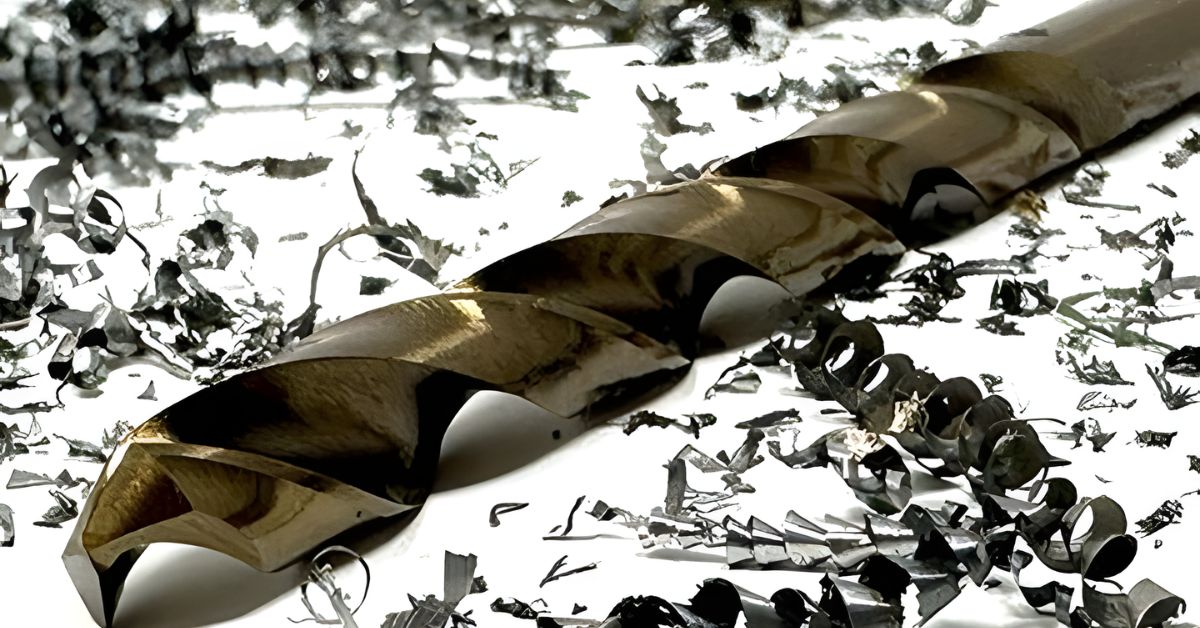
Monitor the drilling progress by observing metal chip formation and listening to changes in the cutting sound. Healthy cutting produces consistent, small metal shavings that curl away from the bit cleanly. Unusual sounds or excessive vibrations may indicate bit damage or improper technique application.
The spring-loaded mechanism provides tactile feedback when the bit has completely penetrated through the weld. Stop drilling immediately when you feel the spring engage to prevent damage to the underlying materials. Continuing to drill after a breakthrough can create unnecessary holes in the supporting sheet metal.
Bit Maintenance and Care
Clean your spot weld drill bits thoroughly after each use to remove metal particles and debris. Use a wire brush or compressed air to clean the cutting flutes and spring mechanisms thoroughly. Apply light machine oil to moving parts to prevent corrosion and ensure smooth operation.
Store bits in protective cases or holders to prevent damage to cutting edges and spring mechanisms. Avoid dropping or striking bits against hard surfaces since impact damage can affect cutting performance. Regular inspections help identify wear patterns and determine when a replacement becomes necessary.
Troubleshooting Common Issues
Wandering bits typically indicate dull cutting edges or improper initial positioning of the weld center. Sharpen or replace worn bits and take extra care with initial positioning and pressure application. Excessive wandering can create oversized holes that compromise the structural integrity of remaining materials.
Premature bit breakage often results from excessive pressure or incorrect speed settings during drilling operations. Review manufacturer specifications and adjust your technique accordingly for better results and longer bit life. Quality bits should be able to handle regular spot weld removal without breaking under proper operating conditions.
Quality Control and Inspection
Examine completed holes for proper size, shape, and edge quality after each spot weld removal. Clean holes with smooth edges indicate proper technique and sharp bit condition throughout the process. Ragged or oversized holes suggest technique problems or worn equipment that requires immediate attention.
Inspect the surrounding metal for heat damage or distortion that could compromise structural integrity or appearance. Proper techniques should leave the surrounding areas virtually unmarked except for the removed weld nugget itself. Document any issues for future reference and to identify opportunities for technique improvements.
Maximizing Bit Life and Performance
Rotate multiple bits during large projects to allow cooling time and prevent overheating damage. Using fresh bits periodically maintains cutting quality and significantly reduces the overall project completion time. Sharp bits require less pressure and generate less heat than dull counterparts.
Invest in quality components from reputable manufacturers, as superior materials and construction consistently deliver better performance. Inexpensive components often fail prematurely, potentially damaging workpieces and leading to costly repairs and project delays. Quality tools represent wise investments that pay dividends through reliable performance and extended service life.
Following these best practices for spot weld drill bits ensures safe and efficient weld removal. These meet our own employees’ high-quality standards, maximizing your investment in quality drilling equipment and consistently achieving professional results.