


How To Prevent Breakage When Using Carbide Drill Bits
How To Prevent Breakage When Using Carbide Drill Bits
 2026-09-03T13:41:05-08:00
Carbide drill bits can handle metals that quickly wear down many conventional cutting tools. Their hardness and wear resistance make them well suited for hardened steel, stainless steel, cast iron, and other difficult materials. However, carbide’s rigidity also leaves less room for flex when the setup puts sideways force on the bit.
Preventing breakage when using carbide drill bits starts with controlling the forces that reach the cutting edge. A rigid setup, suitable cutting conditions, and steady chip removal can help the bit cut as intended. Small changes in drilling technique can make a noticeable difference in tool life.
Here are several ways to reduce carbide drill bit breakage while maintaining accurate, consistent drilling performance.
Start With a Rigid Drilling Setup
Carbide performs best when the drill bit remains aligned with the hole. Movement between the workpiece and the cutting tool can place uneven pressure on the bit. Because carbide has less flexibility than high-speed steel, that sideways load can cause chipping or breakage.
Secure the workpiece before drilling and keep the drilling setup stable. The bit should enter the material straight rather than at an angle. Proper alignment matters even more when drilling hardened materials, which create greater resistance at the cutting edge.
Also check the toolholder and spindle condition. Excessive runout causes the cutting edges to work unevenly, which can shorten tool life and affect hole quality.
Match the Carbide Bit to the Material
Different carbide drill designs serve different drilling conditions. Drill Bit Warehouse carries solid carbide options for difficult metals, including hardened steel and abrasive alloys. Some straight-flute carbide drills target work-hardened steels, while other geometries suit different materials or hole requirements.
Consider the workpiece hardness before selecting a bit. Hole depth and diameter also influence the choice. A drill designed for the application is more likely to maintain stable cutting forces.
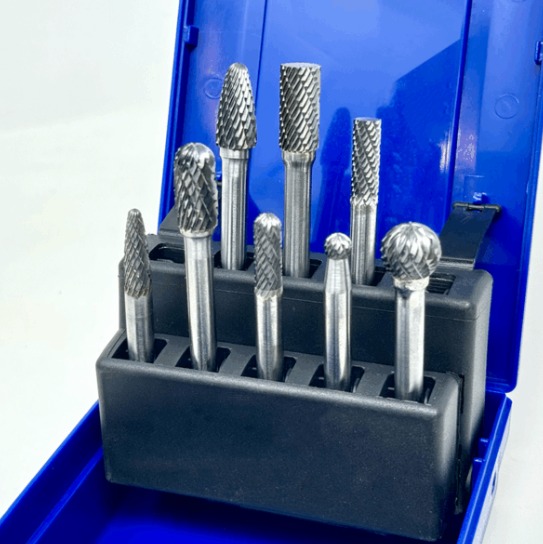
A collection of carbide drill bit sets can give shops several sizes for recurring metalworking jobs. Still, size alone shouldn’t drive the selection. The bit geometry and material compatibility should match the work at hand.
Use the Correct Speed and Feed
Running a carbide drill under unsuitable cutting conditions can put unnecessary stress on the tool. Excessive speed generates heat at the cutting edge, while an improper feed can hinder efficient chip formation.
An overly aggressive feed rate can overload the bit. Feeding too lightly can cause rubbing rather than effective cutting, which may raise heat and accelerate edge wear.
Use drilling data that matches the carbide tool and the workpiece material. Diameter also affects the suitable spindle speed, so one setting won’t work equally well across every bit size.
When you change bit diameter or workpiece material, review the cutting parameters rather than relying on the previous setup.
Keep the Drill Bit From Wandering
A carbide bit that walks across the surface can experience sideways loading before the cutting edges establish the hole. Hardened or uneven surfaces can make this problem more noticeable.
Use a suitable starting method for the drill geometry. Many carbide drills feature points that help with centering, though the exact design varies by tool. A stable machine setup also helps the cutting edges engage the workpiece evenly.
Avoid forcing a wandering bit back toward the intended position while it continues to rotate. Stop and correct the setup first. Pushing sideways against carbide can create the type of load that causes an edge to chip.
Control Heat at the Cutting Edge
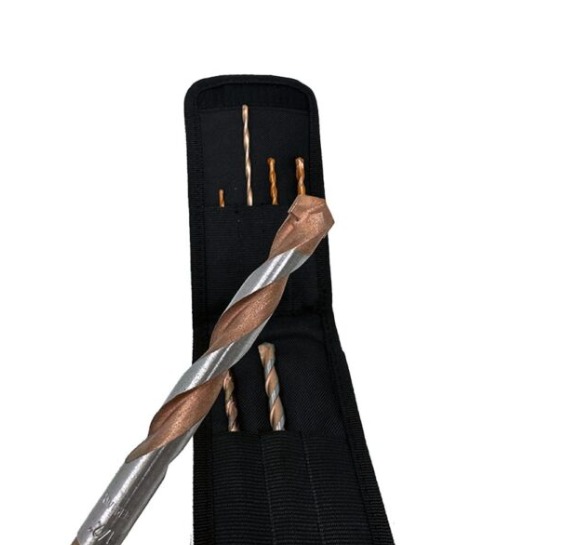
Carbide handles high cutting temperatures well, yet uncontrolled heat can still affect drilling performance. Heat can increase when cutting conditions cause rubbing or when chips remain near the cutting zone.
Follow the cutting fluid or coolant guidance for the drill and application. Drill Bit Warehouse recommends coolant and cutting fluid for some of its solid carbide tooling used on work-hardened metals.
Pay attention to changes during drilling. Rising cutting resistance or poor chip formation can indicate that the process needs adjustment.
Signs That the Cutting Conditions Need Attention
Check the setup when you notice:
- Chipped areas along the cutting edge
- Increasing resistance as the hole progresses
- Chips that stop clearing from the flutes
- A noticeable decline in hole quality
Continuing to drill after these warning signs appear can place greater stress on the tool.
Clear Chips Before They Cause Trouble
Chips need somewhere to go as the bit advances into metal. If they pack into the flutes, they can interfere with cutting and increase resistance. The problem becomes more pronounced as hole depth increases.
Watch chip evacuation during the cut. Use a drilling method suited to the tool geometry and hole depth rather than pushing deeper while chips continue to collect.
Avoid using the carbide bit to pry compacted material from the hole. Clear the obstruction through a method that doesn’t apply sideways pressure to the cutting tool.
Avoid Sudden Changes in Cutting Pressure
Consistent cutting conditions help carbide perform predictably. Sudden pressure changes can shock the cutting edges, especially when the bit encounters an interrupted surface or breaks through the back of the workpiece.
Reduce the chance of an abrupt load change as the bit approaches breakthrough. Maintain control instead of forcing the final portion of the cut.
Interrupted cuts require similar care because the cutting edge repeatedly enters and leaves the material. A stable setup helps limit impact during each engagement.
Inspect Carbide Bits Before Reusing Them
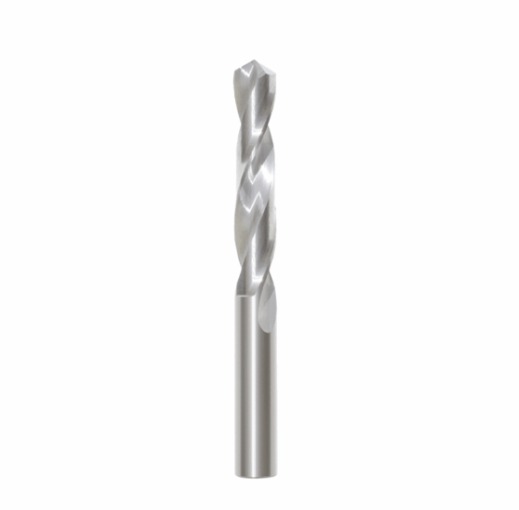
A bit doesn’t need to snap in half to show damage. Small chips at the cutting edge can change how the tool contacts the workpiece during the next hole.
Inspect the cutting edges before returning a carbide drill to service, particularly after a difficult job. Check the bit if drilling performance suddenly changes during use.
Don’t continue running a visibly damaged bit simply because it can still enter the material. A chipped edge may shift the cutting load onto another part of the tool and increase the chance of further damage.
Protect Carbide Bits During Handling and Storage
Breakage prevention continues after drilling stops. Carbide cutting edges can chip if bits strike one another or hit other hard tools during storage.
Keep drill bits separated and protected when they aren’t in use. A case or organized holder can keep cutting edges from contacting nearby tools.
Handle smaller-diameter carbide drills with extra care because their narrow cross sections give them less tolerance for accidental side loads. Careful storage also makes edge inspection easier before the next job.
Get Better Life From Carbide Drill Bits
Preventing carbide drill bit breakage comes down to keeping the cutting process stable. Correct alignment helps the bit enter straight, while suitable speeds and feeds keep cutting forces under control. Good chip evacuation also helps the drill continue cutting without unnecessary resistance.
Carbide can provide long service life in demanding metalworking applications when the setup matches the tool.
If you need help choosing a carbide drill for hardened steel or another difficult material, contact our team at Drill Bit Warehouse for guidance on the available options.