Tips for Properly Sharpening Dull Drill Bits
Tips for Properly Sharpening Dull Drill Bits
 2024-12-03T17:19:45-08:00
When contractors, metalworkers, and woodworkers use their drills, they need their bits to be sharp and in excellent condition to achieve precise, efficient results. However, like any tool, drill bits can lose their sharpness over time, impacting the quality of your work. Before you purchase replacements, try sharpening the bits first, as this can help them perform like new again. Learn how to do it correctly with these tips for properly sharpening dull drill bits.
How To Tell if You Need To Sharpen Your Bits
Some drill users may have to sharpen their bits and not even be aware of it. If you’re experiencing the frustration of using a drill bit that seems to take forever as it makes its way through a piece of wood or metal, it’s likely time for sharpening.
In addition, if your bits produce unattractive, jagged holes rather than clean, smooth results, that’s also a sign that you must sharpen them. You should also take note of excessive heat or smoke during drilling, as these are telltale signs that the bit struggles to cut efficiently. A keen eye for these warning signs can save your projects from lackluster finishes and costly material waste.
How To Sharpen Your Drill Bits
Now that you know the signs that your drill bits have become dull, you can sharpen them with these steps.
Put On Safety Gear
Before beginning the sharpening process, take the proper safety precautions, donning protective gear like safety goggles and gloves. Goggles will shield your eyes from metal particles, while gloves will protect your hands from potential injuries.
In addition, wear a dust mask so you don’t inhale tiny particles released during the sharpening process. Remember, safety gear prevents accidents and makes the sharpening process smoother. Further, always sharpen drill bits in a ventilated area to further reduce risks.
File Burrs off the Bits
Another good tip for properly sharpening dull bits is to file burrs off before you take them over to your grinder. These small, unwanted projections affect performance. Use a metal file to smooth out burrs before sharpening. File slowly and steadily along the edge of the bit, removing any roughness. Once burrs disappear, the drill bit faces less resistance when used, making the sharpening process more effective and the bit’s performance more reliable.
Decide Which Grinder To Use
Once you’re ready to sharpen your bits with a grinder, give them one last look to see which type of wheel you should use. If the bits look like they have suffered massive wear, use a coarse wheel. However, if the bits have experienced less damage, you can use a finer wheel.
Hold the Bit Steady at 60 Degrees
Maintaining a consistent angle while sharpening determines the effectiveness of the process. Hold the drill bit at a 60-degree angle against the grinder wheel. This angle mirrors the bit’s original cutting edge for greater precision.
Secure the bit firmly, avoiding unnecessary movement. Run the bit across the grinder evenly, focusing on one side at a time. A steady hand and correct angle restore the bit’s sharpness, improving its cutting ability.
Don’t Grind the Bit for Too Long
Another thing to remember during the grinding process is that you don’t have to do it for a long time. Instead, you should only let the grinder touch the wheel for about five seconds at most. Otherwise, you may cause the drill bit to experience even more damage than it originally had.
Avoid Letting the Tip Touch the Grinder
Also, avoid letting the drill bit’s tip touch the grinder as you sharpen. The tip is the most sensitive part of the bit, and improper contact can cause it to overheat or become misshapen, reducing its effectiveness.
Focus on sharpening the cutting edges, keeping the tip away from direct grinding to maintain its integrity. By being mindful and precise, your drill bits will deliver unbeatable performance every time you use them.
Give the Bit a Chance To Cool
Sharpening generates heat, which can damage the drill bit if left unchecked. Allow the bit to cool periodically by dipping it in icy water between grinding sessions. Monitor the temperature with your fingers; cool the bit immediately if it feels too hot. Keeping the bit cool preserves its condition, preventing brittleness and extending its lifespan. Regular cooling also provides more accurate grinding, as excessive heat can distort the bit’s shape.
Sharpen the Other Side
After working on one side, flip the bit to address the opposite edge. Maintain the same angle and technique for uniformity. Consistency on both sides guarantees balanced cutting edges, resulting in smoother, more efficient drilling.
Take your time to match the sharpness and angle achieved on the first side. An evenly sharpened bit reduces wear and improves overall performance, making your projects faster and more precise.
Gauge if the Bit Is Sharp Enough
Once you have given both sides attention, test the bit’s sharpness. Place it against a piece of scrap wood and apply light hand pressure as you try to turn the bit. If your bit is sharp enough, it should be able to start a hole in the material. However, if the bit struggles, repeat the sharpening process, focusing on maintaining the correct angle and consistent edges.
You may find that you have to repeat the sharpening process more than once. However, testing will ensure the bit is ready for action, enhancing your productivity and the quality of your work.
How To Tell if You Need New Bits
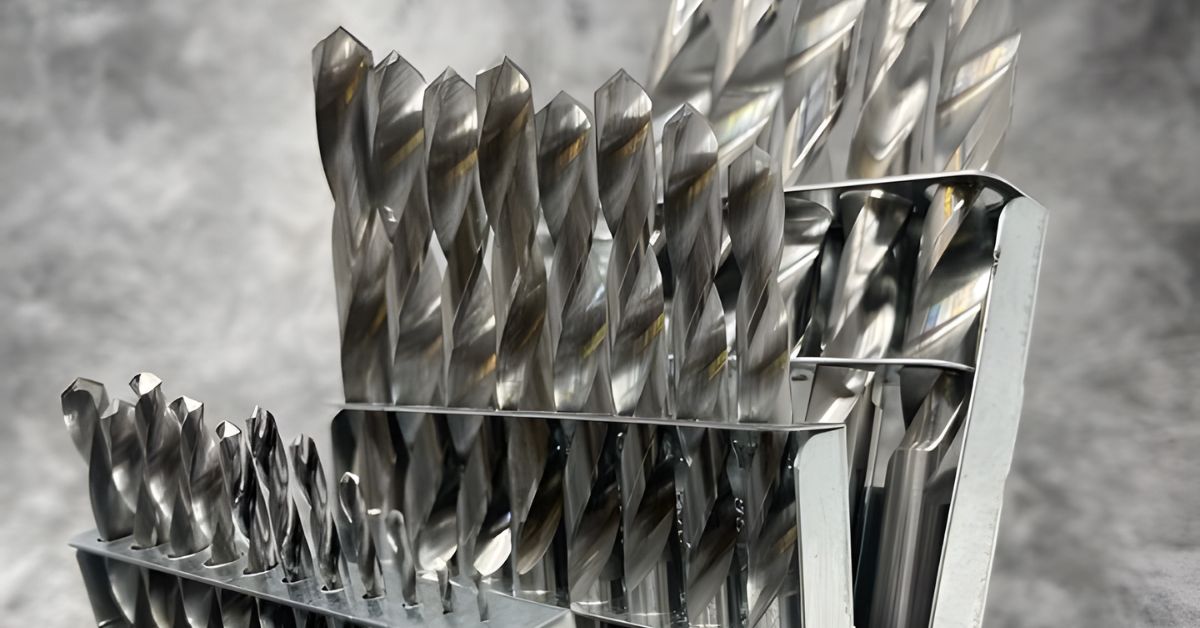
Despite your best efforts, there may come a time when you need to purchase new drill bits. For example, if your freshly sharpened bits fail to produce clean, efficient cuts, this issue usually indicates that it’s time for a replacement. You should also replace your bits if they have cracks, chips, or rust. If a bit appears bent or broken, it’s time to get new ones, as their performance has been compromised beyond repair.
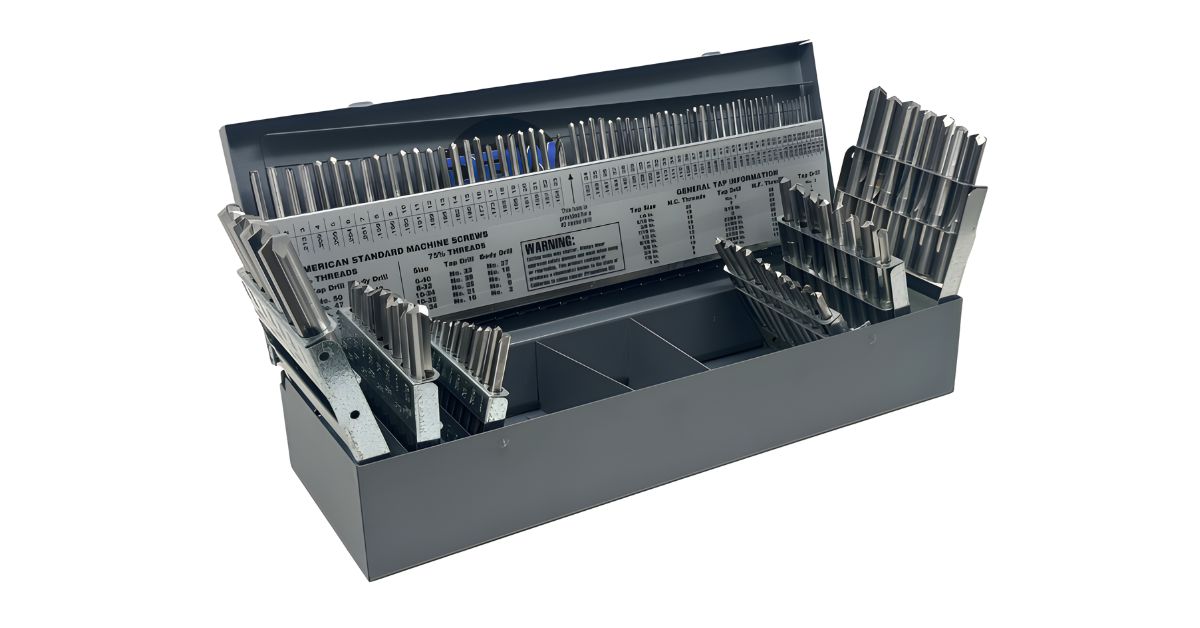
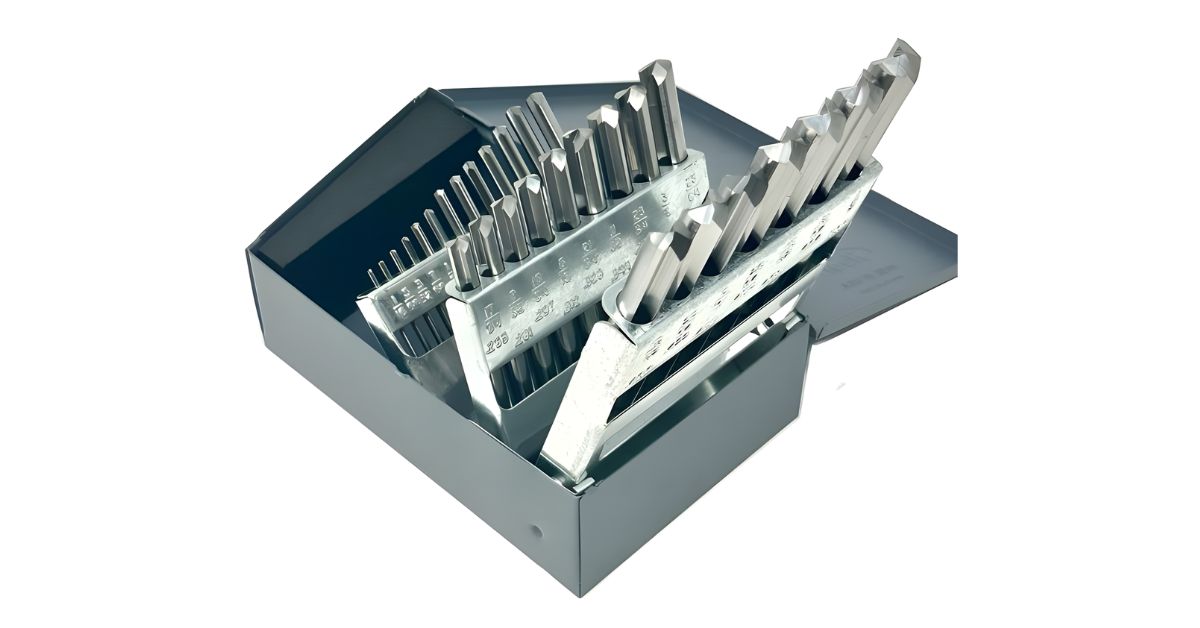
Purchase Quality Bits at Our Warehouse
Now that you know these tips for sharpening your bits and the indicators you may need new ones, you can use tools more effectively. Always have quality bits in your workshop by purchasing parts from Drill Bit Warehouse. Our selection includes carbide drill bit sets that are effective when cutting through various types of material, including plastic and cast-iron. We sell reliable, high-quality products that we would utilize in our own projects, so explore our options today.