An Overview of Drill Bit Maintenance and Care
An Overview of Drill Bit Maintenance and Care
 2023-10-24T15:44:35-08:00
A well-maintained drill bit ensures efficient operation, prolongs tool lifespan, and guarantees a safer work environment. In this overview of drill bit maintenance and care, you will learn about the vital steps involved in inspection, sharpening, proper handling, storage, and timely replacement of worn-out bits. Following these tips keeps your drill bits in peak condition, helping you save costs in the long run and achieve superior results in your drilling tasks.
Identifying Drill Bit Types
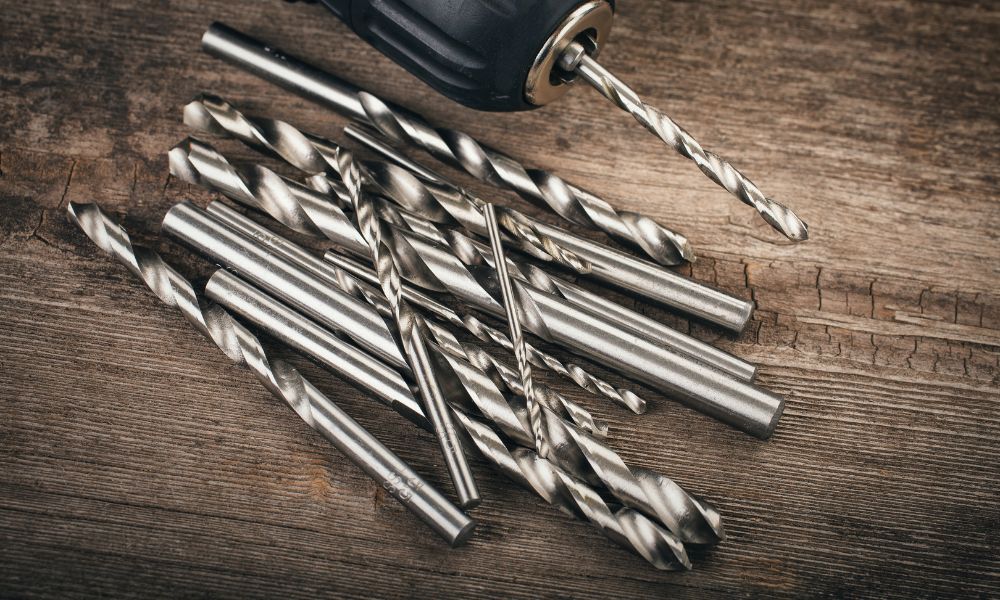
Before discussing maintenance, it’s crucial to understand the different types of drill bits and their specific requirements. The most common drill bit types include twist, spade, masonry, and auger bits, each designed for specific materials and applications.
Wet diamond drill bits are a special type of drill bit, primarily used for hard materials like concrete and stone; they leverage water to reduce heat during operation, prolonging the bit’s lifespan and enhancing drilling efficiency. Hole saw bits, as the name suggests, are used to cut large, round holes and are often used in plumbing or electrical work. Knowing the type of drill bit you’re working with will allow you to tailor your maintenance routine to address each bit’s unique needs.
Cleaning Drill Bits
The first step toward maintaining your drill bits involves proper cleaning. No matter what project or material you’re dealing with, drilled holes inevitably generate metal shavings and debris that accumulate on the bit.
To clean your drill bits properly, follow these steps.
- Detach the bit from the drill, following your tool manufacturer’s instructions and safety precautions.
- Shake off loose debris and wipe off the remaining debris with a dry, clean cloth or a soft brush.
- For stubborn or tightly packed debris, use a toothpick or needle to carefully remove the material from the bit’s flutes and cutting edges.
Ignoring swarf and debris buildup can lead to reduced efficiency and damaged bits. Therefore, regularly cleaning your drill bits becomes essential for optimal performance.
Inspecting Drill Bits
Frequently examining your drill bits for signs of wear and tear can make a world of difference in preserving their lifespan. By noticing signs such as chipped edges or worn flutes early on, you can address issues before they become significant problems. Regular inspections also alert you to potential safety hazards or performance loss, resulting in a smoother overall drilling experience.
To inspect your drill bits, start by removing the bit from the drill while following safety guidelines. Visually inspect the cutting edges and flutes of the bit for any visible damage or wear. If necessary, use a magnifying glass to examine the surfaces of the bit for small cracks or chips in the material.
Sharpening Drill Bits
The cornerstone of effective drill bit maintenance is keeping them well-sharpened. A sharp drill bit allows for smoother drilling, faster work, and less strain on your power tools. You can use a bench grinder, drill bit sharpener, or sharpening stone to restore the bit’s cutting edges. The specific drill sharpening technique you should use depends on your sharpening tool and the drill bit type.
If you’re using a bench grinder on a twist drill bit, start by holding the bit just above the centerline of the toolstone. Angle the cutting edge about 30 degrees, then hold the bit against the stone. Grind the heel until you reach the opposite chisel edge.
Apply the same technique to both cutting edges. In the end, the angle and length of the cutting edges should be the same.
Proper Handling of Drill Bits
Handling drill bits properly prevents premature damage. Start by selecting the correct tool for the material you are working on, whether that’s wood, metal, or masonry, and make sure it is the appropriate size for the task at hand.
Secondly, set your drill to the appropriate speed and torque settings for the selected drill bit and material. Thirdly, employ steady but moderate pressure when drilling, avoiding excessive force that could cause the bit to overheat or break.
Using both hands to hold the drill makes it easier to maintain control and stability throughout the drilling process. Finally, allow the drill bit to cool down between tasks, as prolonged exposure to heat can damage the bit and lead to premature wear. By following these handling tips, you can enjoy a safer and smoother drilling experience while keeping your drill bits in optimal condition.
Storing Drill Bits
Proper storage is crucial for safeguarding your drill bits against damage caused by environmental factors and accidents. A few ideal storage solutions for drill bits include drill bit cases, magnetic holders, and toolboxes or drawers.
Drill bit cases are protective containers that keep your drill bits organized and shielded from moisture, dust, and impact. They provide a convenient and secure storage option.
Magnetic holders offer versatility and save space. They can attach to any metal surface and securely hold your drill bits. With magnetic holders, you can easily access and store your drill bits without taking up much space.
Toolboxes and drawers are another effective storage option for drill bits. By designating a section of your toolbox or workshop drawer for drill bits, you can keep them organized and protected. Use a shallow tray to prevent drill bits from piling on top of each other.
Exposure to moisture and chemicals can corrode the drill bit material, so whatever storage method you choose, remember to keep the drills clean and dry to prevent corrosion. Also, avoid overcrowding, as this can lead to accidental damage.
Replacing Worn Out Drill Bits
Even with proper care, drill bits will wear down over time. Using worn-out bits can result in unsatisfactory drilling performance, damage to your power tools, and accidents.
Here are some indicators that it’s time to some indicators that it’s time to replace your drill bit:
- The bit has developed a dull or chipped cutting edge.
- There are visible signs of wear, such as blunting of the flutes or rounding of the shank.
- You notice decreased drilling speed and efficiency despite proper maintenance and handling.
If you encounter any of these issues and cannot effectively resharpen the bit, it’s best to replace the bit entirely. Worn-out tools can lead to inefficient work, potential damage to your power tools, and increased risk of accidents during operation.
As this overview of drill bit maintenance and care shows, simple measures can ensure the optimal performance of your tool. Clean, inspect, and sharpen drill bits regularly to enhance their lifespan. Handle them correctly and store them in a protected place to keep them in good working order. Finally, recognize when a drill bit has reached the end of its life and needs replacing, as this plays a large role in maintaining the quality of your work and ensuring your safety.