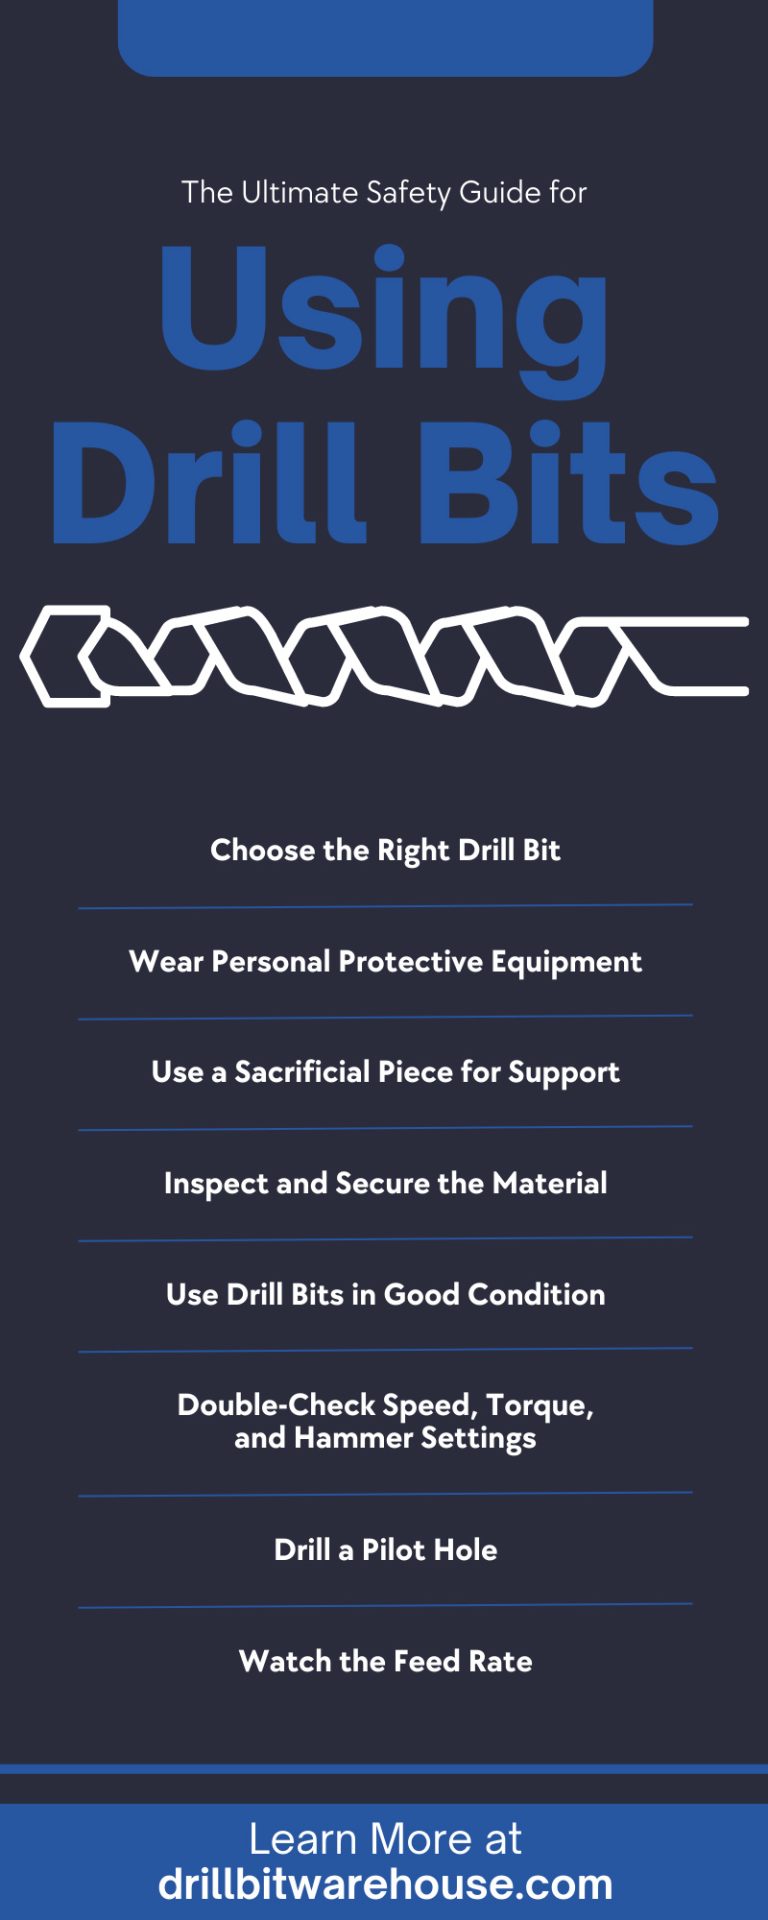
Drill bits create holes in wood, metal, concrete, masonry, and more. Whether you’re utilizing drill bits for a DIY task or a complex construction project, using these cutting tools correctly is vital to avoid injuries and material damage. Read through this ultimate safety guide for using drill bits to make your drilling experiences accident-free.
Choose the Right Drill Bit
Choosing the right tool is always important for safety. Cutting with the wrong drill bit can destroy the bit, damage the material, and potentially lead to injuries.
Sometimes, you can use one drill bit type on many different materials, but you must always check that the bit type is compatible with your workpiece before cutting. Some surfaces require specialized drill bits; for example, manufacturers make masonry and concrete drill bits from extremely hardwearing tungsten carbide.
Tip: Keep a Variety of Drill Bits
Keep your toolbox stocked with various drill bits so you’re always prepared. A cobalt metal drill bit set contains different sizes of quality cutting tools that can drill hard alloy steel, tool steel, and cast iron. The appropriate drill bit set will help you avoid drilling with poor substitutions.
Wear Personal Protective Equipment
Personal protective equipment (PPE) minimizes exposure to hazards that can cause injuries. The appropriate PPE for your job depends on the drilling environment, workpiece, and tool.
Safety goggles protect your eyes from flying debris. When drilling concrete, wear a respirator to avoid inhaling hazardous dust. Exposure to silica in concrete can potentially cause lung injuries and lung cancer.
Keep Clear of Rotating Edges
Be sure to follow your facility’s PPE requirements and guidelines. In general, you should wear gloves when handling metal to avoid touching rough edges or staining the metal. However, you should not wear gloves when operating machines with exposed, rotating parts.
A glove can snag and wrap around the high-speed, rotating blades and cutting edges, pulling your hand in and causing severe injuries in seconds. You shouldn’t wear gloves when working with a drill press, for instance. Instead, use a drill press vise to clamp the workpiece firmly in place.
Use a Sacrificial Piece for Support
Use a sacrificial piece to enhance safety and prevent damage to workplace surfaces. The material will provide a protective layer that absorbs the force of the drill bit, minimizing the risk of tear-out and splintering.
Using a sacrificial piece, also called a drill board or backup board, depends on the material you’re drilling. For example, if drilling thin metal, you can sandwich it between two pieces of wood to help guide the drill bit and cut a clean hole. Rigid foam boards can adequately support sheets of plywood.
Inspect and Secure the Material
Always inspect the workpiece material before drilling into it. Drilling is used in many applications, so your inspection requirements will vary. If drilling into a wall, you must check for plumbing and electrical work to avoid hitting anything. When drilling concrete, you may encounter rebar.
Hitting an unexpected object with your drill can cause kickback, a sudden and unintended movement of the tool or workpiece. The bit may snag on an unseen screw, nail, or other object, transferring the tool’s torque into the operator’s wrist and hand; the violent torque can tear the cartilage that stabilizes the wrist.
Inspecting the piece is one way to improve safety and minimize the risk of kickback. Also, when possible, secure the workpiece firmly with clamps or a vise. These devices prevent unexpected movement during drilling that can cause inaccurate holes or injury.
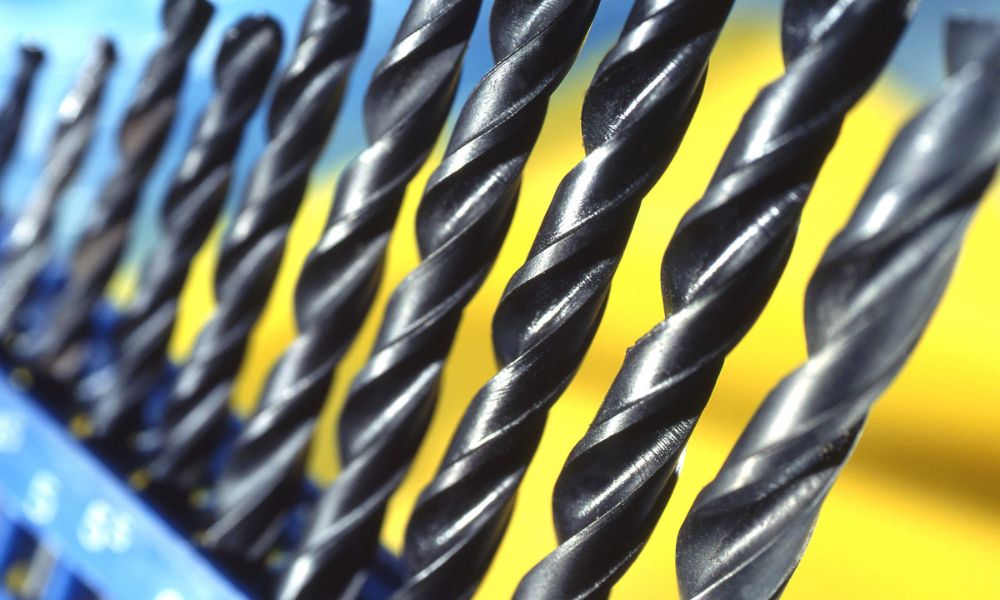
Use Drill Bits in Good Condition
One of the most important tips in this ultimate safety guide for using drill bits is to inspect your cutting tool before every use. Dull drill bits require more force, increasing the chance of the bit slipping or the drill jerking unexpectedly.
Check for the following when you perform a visual inspection:
- Sharp cutting edges: Edges should be even and free of chips or dullness.
- Smooth flutes: Grooves should not contain debris.
- Straight shank: The part of the bit that fits into the drill chuck should be straight and undamaged.
Inspect your drill bits and replace them when they become dull. Maintain the drill bits by cleaning them after each use to remove debris and prevent buildup, as material in the flutes can affect cutting accuracy. Depending on the material and frequency of use, you may need to resharpen your drill bit using a sharpening tool or professional services.
Double-Check Speed, Torque, and Hammer Settings
Many drills come with adjustable speed and torque settings. Adjusting the torque setting will prevent the bit from binding and potentially causing the tool to twist out of your control.
Generally, higher starting speeds are used for softer materials like wood, while lower rates are better for metals and harder surfaces.
Before cutting, always check if you have the hammer action engaged. Hammer drilling uses a pounding forward and backward motion that’s useful for drilling concrete and masonry.
Do not use hammer mode for drilling wood, metal, or plastic. Hammering may crack the material, slow your progress, or add substantial vibration.
Drill a Pilot Hole
Create a pilot hole before drilling a large hole in metal or hardwood. A pilot hole is a small, shallow hole that helps guide a larger drill bit through the workpiece. You may sometimes use a punch or nail to create a small hollow for wood or sheet metal.
A pilot hole prevents wood and other brittle materials from splintering. When drilling metal or hardwood, the pilot hole makes it easier for the larger drill bit to start cutting, reducing the initial resistance and preventing the bit from walking on the material’s surface. The pilot hole also reduces the required force, saving your wrists from unnecessary strain.
Watch the Feed Rate
The feed rate is the distance the drill bit travels into the material per revolution. A high feed rate can cause overheating that can burn the workpiece and dull the bit prematurely. The right feed rate will improve heat management.
Maintaining a steady, controlled drilling motion reduces the likelihood of jerky movements or sudden stops that can cause accidents. Aggressive feeding can lead to the drill bit grabbing the material and causing kickback, but a safe feed rate improves operator control over the drill.
Using drill bits safely requires proper preparation, tool quality, and technique. Wearing the appropriate PPE, using the correct drill bits of good quality, inspecting the workpiece material, and applying the right drilling methods are essential for making accurate cuts and protecting yourself from injury.