


Ways To Prevent Heat Damage on HSS Drill Bits
Ways To Prevent Heat Damage on HSS Drill Bits
 2026-06-11T08:09:07-08:00
Heat creates one of the most common problems during metal drilling. It weakens the cutting edge, slows the cut, and shortens the life of an HSS drill bit.
A cooler drilling process starts before the bit touches metal. Speed, pressure, lubrication, chip control, and tool choice all shape how much heat the bit absorbs.
When HSS drill bits run too hot, the problem usually starts with drilling habits you can control. Here are a few ways to prevent heat damage on HSS drill bits while helping each bit cut cleaner, run cooler, and last longer.
Start With the Right Drilling Speed
Drilling speed influences the amount of friction generated by the cutting edge against the workpiece. When the drill spins too quickly, the edge tends to rub the metal rather than cut into it. This rubbing increases heat near the tip, dulls the cutting lips, and complicates clean drilling of the next hole.
Larger drill bits operate more effectively at slower speeds because their outer edges travel farther per rotation, generating more heat. Likewise, harder metals such as stainless steel, hardened steel, and abrasive alloys require lower speeds due to their increased resistance to cutting.
Use Firm, Steady Feed Pressure
The way you apply pressure when drilling can really affect how effectively the drill bit works. Using too little pressure might seem safer, but it can cause the cutting edge to slide across the surface, creating heat without removing enough material. This also makes the bit dull faster because it’s rubbing rather than cutting. Watching the shape of the chips can give you a helpful indication during drilling. Steady, strong chips usually mean you’re applying the right amount of pressure and the bit is cutting well.
If your chips are dusty, or if you see smoke or hear squealing, it may indicate that your cutting action isn’t quite right. A quick tweak to your speed or pressure can help protect the bit from heat damage.
On the other hand, applying too much pressure can overload the bit, increase torque, and lead to chatter or edge chipping, causing additional issues.

Choose the Right Bit for the Material
Different metals generate varying heat levels when drilling. A drill bit that performs well in mild steel might struggle with stainless steel or hardened materials, but don’t worry—choose the right one! HSS drill bits are a versatile choice for many common metal drilling tasks, yet tougher materials may require cobalt or carbide bits, especially since heat and wear increase with tougher metals.
Keep in mind, thin sheet metal heats up differently than thick stock—since the bit spends less time inside thin pieces, there’s less opportunity for heat to build up. Thicker metal, on the other hand, retains heat near the cutting edge longer, so it’s helpful to use better fluid application, maintain steady pressure, and ensure chips are cleared away effectively.
When drilling multiple holes, remember this can heat up your bit more, but selecting a bit material suited for the workload can go a long way in maintaining high-quality results and protecting your tools.
Apply Cutting Fluid at the Cutting Edge
Cutting fluid controls heat and reduces friction by cooling contact points and helping chips exit with less drag. It works best at the cutting edge, especially where the lips carry the full load.
Apply fluid before drilling and refresh it as the hole deepens or resistance increases. It also helps chips slide through the flutes, keeping the cut clean.
Clear Chips Before They Trap Heat
Chips carry heat away from the cutting zone. When chips leave the hole cleanly, they remove heat that would otherwise stay near the cutting edge. Packed chips create the opposite effect.
They hold heat around the bit, increase friction, scratch the hole wall, and raise the risk of binding. Deeper holes require better chip control than shallow ones, as the flutes have less space to evacuate chips.
Short retractions help loosen chips and provide a clearer path for cutting fluid to reach the point. Keeping flutes clean keeps the bit cooler. Avoid pushing through packed chips, as this habit causes the bit to work against trapped metal debris.
Follow a Cooler Drilling Checklist
A simple drilling routine helps reduce heat before damage starts. Each step supports cleaner cutting, better chip flow, and longer tool life.
Use this checklist during metal drilling work:
- Match RPM to the bit diameter and metal hardness
- Apply steady pressure that creates clean chips
- Use cutting fluid at the cutting edge
- Clear chips before they pack inside the flutes
- Clamp the workpiece before drilling starts
- Keep the bit aligned through the hole
- Inspect the point between repeated holes
- Resharpen or replace worn bits before they overheat
A repeated failure pattern usually points to a process issue. If several bits overheat in the same material, review speed, pressure, lubrication, chip clearing, and setup.
Keep the Cutting Edge Sharp
A sharp drill bit efficiently cuts metal with less friction, while a dull one requires more pressure, produces weaker chips, and generates additional heat.
Heat and dullness are interconnected during drilling; as the bit’s edge dulls, it rubs more and wears faster. Early signs of wear appear at the tip, such as rounded cutting lips, chipped edges, uneven shapes, or dark discoloration.
Uneven lips lead to uneven cutting pressure, with one side bearing more load, which increases heat and can cause the hole to drift. Avoid pushing a worn bit too hard, as it often takes longer than replacing it. Resharpening can restore performance if the bit still retains proper geometry.
Improve Setup and Alignment
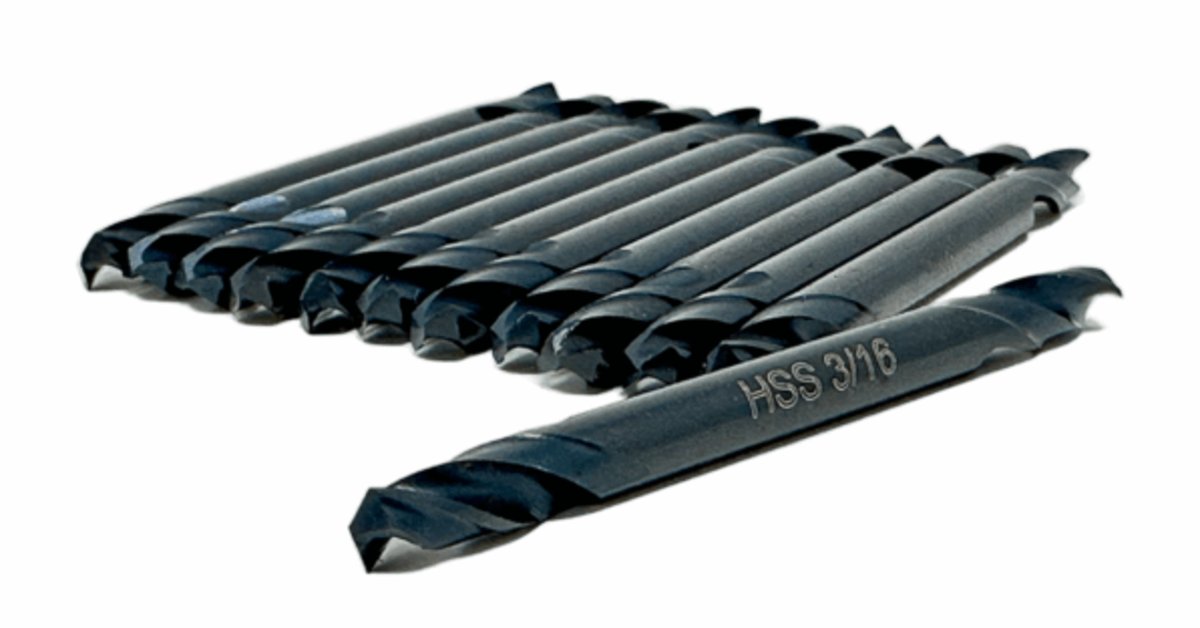
A stable setup ensures the high-speed drill bit cuts smoothly and evenly. Movement causes chatter, friction, and heat along the cutting edge.
Proper clamping secures the workpiece, preventing movement and allowing both cutting lips to share the load during drilling. Correct alignment is important because side pressure increases friction.
When a bit enters metal at an angle, it works harder and heats up more quickly. Using pilot holes helps larger bits start with less strain, and a smaller starter hole reduces load on the chisel edge, where heat can build rapidly.
Select HSS Drill Bits and Habits With Heat Control in Mind
Heat damage shows warning signs like discoloration near the point, and sound issues such as squealing or harsh noise can indicate problems. Stronger cutting habits are the most effective ways to prevent heat damage on HSS drill bits. Better speed, feed pressure, fluid use, chip control, and setup all help the bit cut instead of rub.
Shorter bits reduce flex; good flute geometry and cleaner points help manage heat and improve centering. Heat damage results from factors such as speed, pressure, coolant, chip control, setup, and sharpness, all of which influence temperature.
Cooler drilling prolongs bit life and yields cleaner holes, with adjustments favoring cutting over rubbing to protect the edge and enhance performance.